
Crimp Tool and Crimping Quality Guide: Getting Reliable Terminations
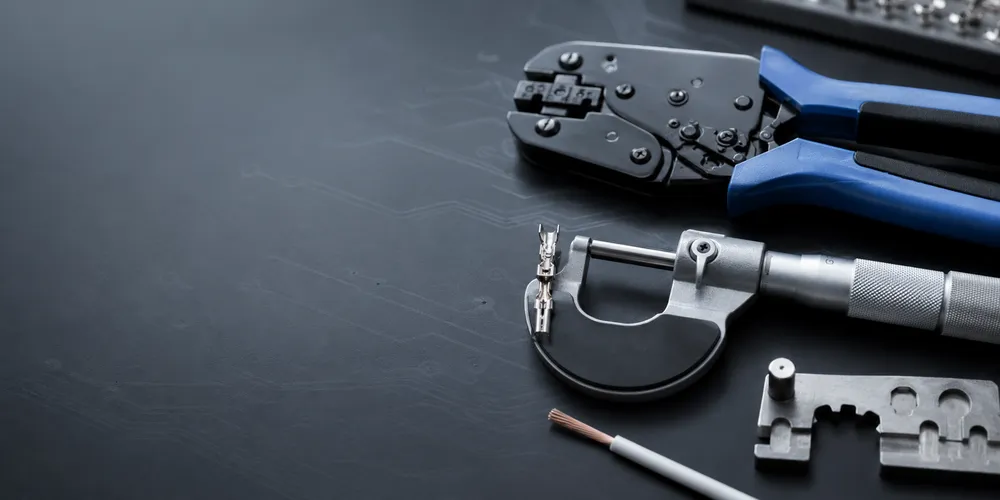
> Do not use the numeric crimp-height examples in this article as production release limits. The correct height, pull requirement and visual criteria come from the selected terminal’s manufacturer drawing and the approved applicator setup.
Quick Reference
| Tool Type | Cost | Quality | Best For |
|---|---|---|---|
| Pliers / universal tool | $5–20 | ❌ Poor (deforms terminal) | Emergency only |
| Ratchet crimper (generic) | $30–80 | ⚠️ Variable | Hobby, low volume |
| Ratchet crimper (series-specific) | $100–300 | ✅ Good | Production, reliable |
| Pneumatic crimper | $500–2,000+ | ✅ Excellent | High-volume production |
| Full-auto crimping machine | $5,000–50,000+ | ✅ Excellent | Mass production |
1. Why Crimp Quality Matters
A crimp is a mechanical weld — the terminal is deformed around the wire to create a gas-tight connection. A bad crimp fails invisibly:
| Bad Crimp Defect | Result |
|---|---|
| Loose conductor crimp | High resistance → overheating → fire risk |
| Crushed strands | Reduced current capacity, wire breaks |
| Insulation crimped instead of conductor | No electrical contact (open circuit) |
| Terminal deformed / cracked | Intermittent connection |
| Wrong crimp height | Either loose (overheating) or over-crimped (broken strands) |
A bad crimp looks fine from the outside. The only reliable verification is crimp height measurement and pull testing — which is why proper tooling matters.
2. Crimp Tool Types
Universal Pliers (Avoid)
Generic “crimp pliers” squeeze the terminal in whatever way they fit. They do NOT produce a proper B-crimp (the standard crimp shape). Result: deformed terminals, loose connections, intermittent failures.
Never use universal pliers for production crimping. They’re acceptable only for emergency field repairs where the alternative is no connection.
Ratchet Crimper (Standard)
A ratchet mechanism ensures consistent crimp force. The tool only releases when full crimp pressure is applied — preventing under-crimping.
| Feature | Why It Matters |
|---|---|
| Ratchet lock | Prevents premature release — consistent crimp |
| Fixed die | Correct crimp profile for specific terminal |
| Crimp height adjustment | Calibrate for wire gauge |
Series-specific dies are critical. A JST PH crimper has a different die than a Molex Mini-Fit crimper. Using the wrong die produces a bad crimp even with a good tool.
Pneumatic and Automatic Machines
For production, pneumatic crimpers and full-auto machines provide:
- 100% consistent crimp (machine-controlled force)
- Crimp height monitoring
- High speed (100+ terminations/minute)
3. Crimp Height Measurement
Crimp height is the definitive quality metric. It’s the height of the crimped conductor section, measured with a micrometer.
| Measurement | Method | Why |
|---|---|---|
| Conductor crimp height | Micrometer on conductor barrel | Must be within datasheet spec |
| Insulation crimp height | Micrometer on insulation barrel | Confirms strain relief grip |
| Pull-out force | Tensile tester | Confirms mechanical strength |
Why There Is No Universal Crimp Height
Crimp height is terminal-, wire- and tool-specific. For example, JST lists SPH-002T-P0.5S for PH and SXH-001T-P0.6 for XH, while Molex Micro-Fit 3.0 uses its own terminal families such as 43025-0200. Do not transfer a measurement target from one series—or even one wire size—to another.
Release rule: establish the specification from the manufacturer’s application tooling data, verify it on a calibrated micrometer, and retain pull-test and visual-inspection records by lot.
Real Terminal Examples to Specify on a Work Instruction
| System | Terminal | Companion housing | Source |
|---|---|---|---|
| JST PH | SPH-002T-P0.5S |
PHR-2 |
JST PH |
| JST XH | SXH-001T-P0.6 |
XHP-2 |
JST XH |
| Molex Micro-Fit 3.0 | 43025-0200 |
43045-0200 |
Confirm exact drawing and approved tool with Molex |
4. Pull-Out Force Testing
Set the pull test from the connector manufacturer’s terminal specification or the customer’s approved harness standard. The pass criterion must name the terminal, conductor material/strand count, wire gauge, test speed, sample quantity and acceptance method. Do not apply a generic AWG-to-force table across different terminal designs.
For process control, retain the test record with the terminal lot, wire lot, crimp tool/applicator, setup height and inspector. Investigate any strand break location, terminal crack, barrel slip or out-of-spec crimp-height trend before releasing the lot.
5. Crimping Procedure
- Strip wire to correct length (typically 2–3mm for small terminals)
- Insert wire into terminal — conductor into conductor barrel, insulation into insulation barrel
- Place terminal in crimper — correct die, correct orientation
- Squeeze fully — ratchet must release
- Inspect — check crimp height, no exposed conductor, no crushed strands
- Pull test — periodic verification (sample-based)
6. GSConn Crimp Solutions
| Offering | Benefit |
|---|---|
| Pre-crimped leads | GSConn crimps at factory with machine-verified quality — customer needs no tool |
| Crimp terminals (bulk) | For customers with their own crimp tooling |
| Crimp tool recommendation | Series-specific die recommendations |
| Crimp quality data | Crimp height and pull-test reports on request |
Pre-crimped leads are the recommended solution for most customers. You get machine-quality crimps without investing in tooling or training operators. GSConn pre-crimps the wire to the terminal, and you simply insert the lead into the housing.
GSConn offers pre-crimped wire leads for all JST-compatible and Molex-compatible series — factory crimped to specification with crimp height and pull-test verification. For customers doing in-house crimping, GSConn provides crimp height specifications and tooling recommendations for each terminal series.
Related reading:
Related GSConn guides
Related reading on GSConn that complements wire-to-board-crimp-tool: